
How to Capture Screenshots on Windows 10 and Windows 11 in 2024
There may arise occasions when you find the necessity to capture either a full or a partial screenshot on your Windows 10 or Windows 11 system. Fortunately, executing this task is quite straightforward, thanks to the built-in tools and keyboard shortcuts provided by Windows. In this guide, Winsor Consulting presents various methods tailored to meet your screenshot needs. Here, we outline the most effective ways to capture screenshots on Windows.
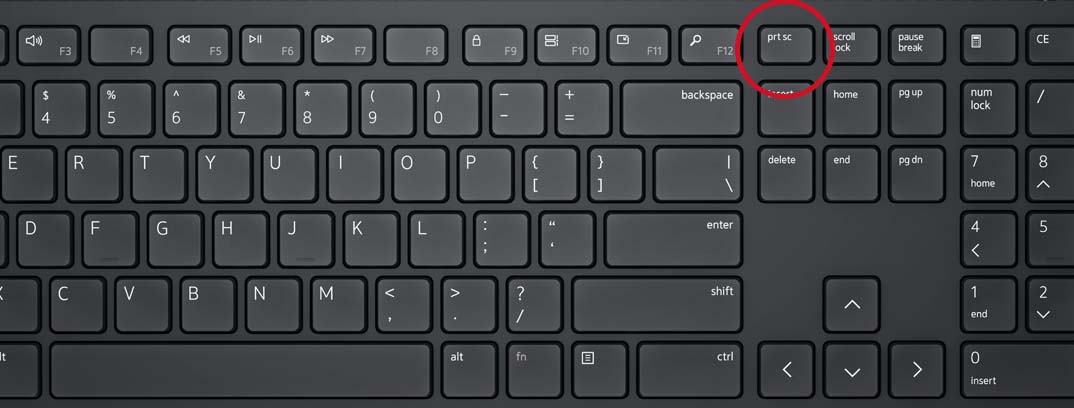
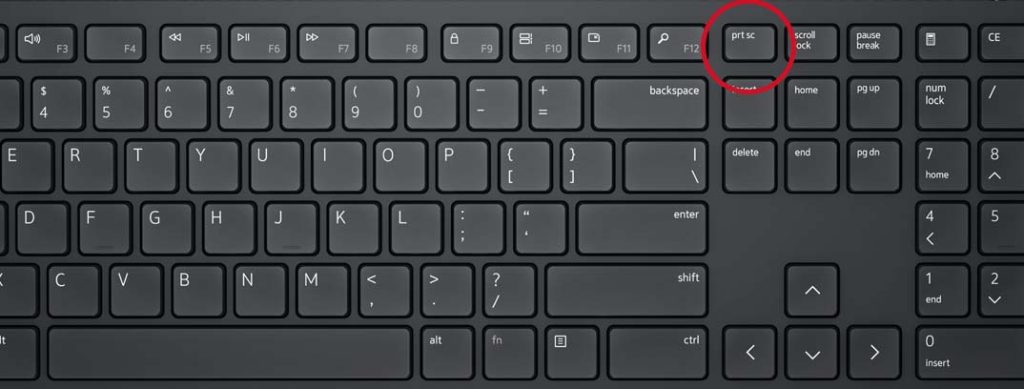
Your keyboard is equipped with a designated key for capturing screenshots. Aptly named the Print Screen key, its purpose is to capture the current display of your computer. If you’re using a standard keyboard, you’ll typically find it situated on the top-right corner. Conversely, if you’re using a laptop, it may be located along either the top or bottom row of keys. The key might be labeled as “Print Screen” or “PrtSc”.
Simply press the Print Screen key, and a small menu will appear at the top center of your screen.
Select the specific area you wish to capture; the screenshot will then be saved to your clipboard. Depending on your requirements, you can choose from the options provided in the menu to capture the screenshot.
Open an application such as Paint or Word, and paste the screenshot into it.
Proceed to edit the screenshot or save it to a location of your preference.
The screenshot is now copied to your clipboard. To preserve the file, paste the screenshot into any compatible program that supports image insertion, such as Microsoft Word or Paint.
Pro Tip: Access Your Screenshots Easily with the Clipboard
You can conveniently access and manage the screenshots you’ve captured by pressing the Windows key + V to bring up the clipboard.
The Shortcut: Windows Key + Print Screen
For Dell Laptop Users: How to Capture Screenshots
To effortlessly take a screenshot on your Dell laptop running Windows 10 or Windows 11 and have it automatically saved to the Screenshots folder, simply press the Windows key + PrtScn. Your screen will momentarily dim, and a screenshot of the entire display will be promptly saved to the designated folder.
Alt + Print Screen: Capture the Active Window
To capture only the active window you’re currently working in, press Alt + PrtScn. The screenshot will be copied to your clipboard, requiring you to paste it into another program for saving.
Snip & Sketch Tool in Windows 10: Customize Your Screenshots
For Windows 10 users, Snip & Sketch offers a versatile way to capture and customize screenshots. Activate Snip & Sketch by pressing Windows Key + Shift + S. This action will dim your screen and display a mini-menu at the top, allowing you to choose between rectangular, free-form, window, or full-screen capture options.
Once captured, the screenshot will be saved to your clipboard, and a preview notification will appear in the bottom-right corner of your screen. Click on the preview notification to open the Snip & Sketch app and utilize the available drawing tools for editing or sharing the screenshot.
Snipping Tool in Windows 11: Enhanced Screenshot Options
In Windows 11, the Snipping Tool has undergone significant improvements, making it the preferred tool for taking custom screenshots. Initiate the Snipping Tool by searching for it or pressing Windows Key + Shift + S. Similar to Snip & Sketch, a toolbar of screenshot options will appear at the top of the screen, enabling you to select rectangular, freeform, full-window, or full-screen capture modes.
After capturing your screenshot, it will be copied to your clipboard for immediate sharing and saved to the Screenshots folder. Clicking on the preview in the bottom-right corner of your screen allows you to save and edit the screenshot as desired.

Using the Game Bar: Capture Screenshots and Videos
The Game Bar is an overlay accessible within most Windows apps and games, facilitating the capture of screenshots and videos. To utilize the Game Bar:
1. Press Windows Key + G.
2. In the overlay menu, click the Capture button (camera icon) to access the Capture menu.
3. Within the Capture menu, click the camera icon to take a screenshot. You can also record video clips, including audio, by clicking the corresponding buttons.
Screenshots and video clips captured by the Game Bar are saved in PNG and MP4 formats and can be found in the Videos > Captures folder in File Explorer or through the Game Bar’s Gallery.
Power + Volume Up: Screenshot on Microsoft Surface Devices
To capture a screenshot on Windows 10 using a Microsoft Surface device, press the Power Button + Volume Up Button. The screen will dim, and your screenshot will be saved to the Pictures > Screenshots folder.
Note: For Surface 3 or earlier devices, press the Windows Logo + Volume Down Button to capture a screenshot.
Have you mastered the art of taking screenshots in Windows? Have our tips enhanced your screenshot-taking experience on your Windows PC?